
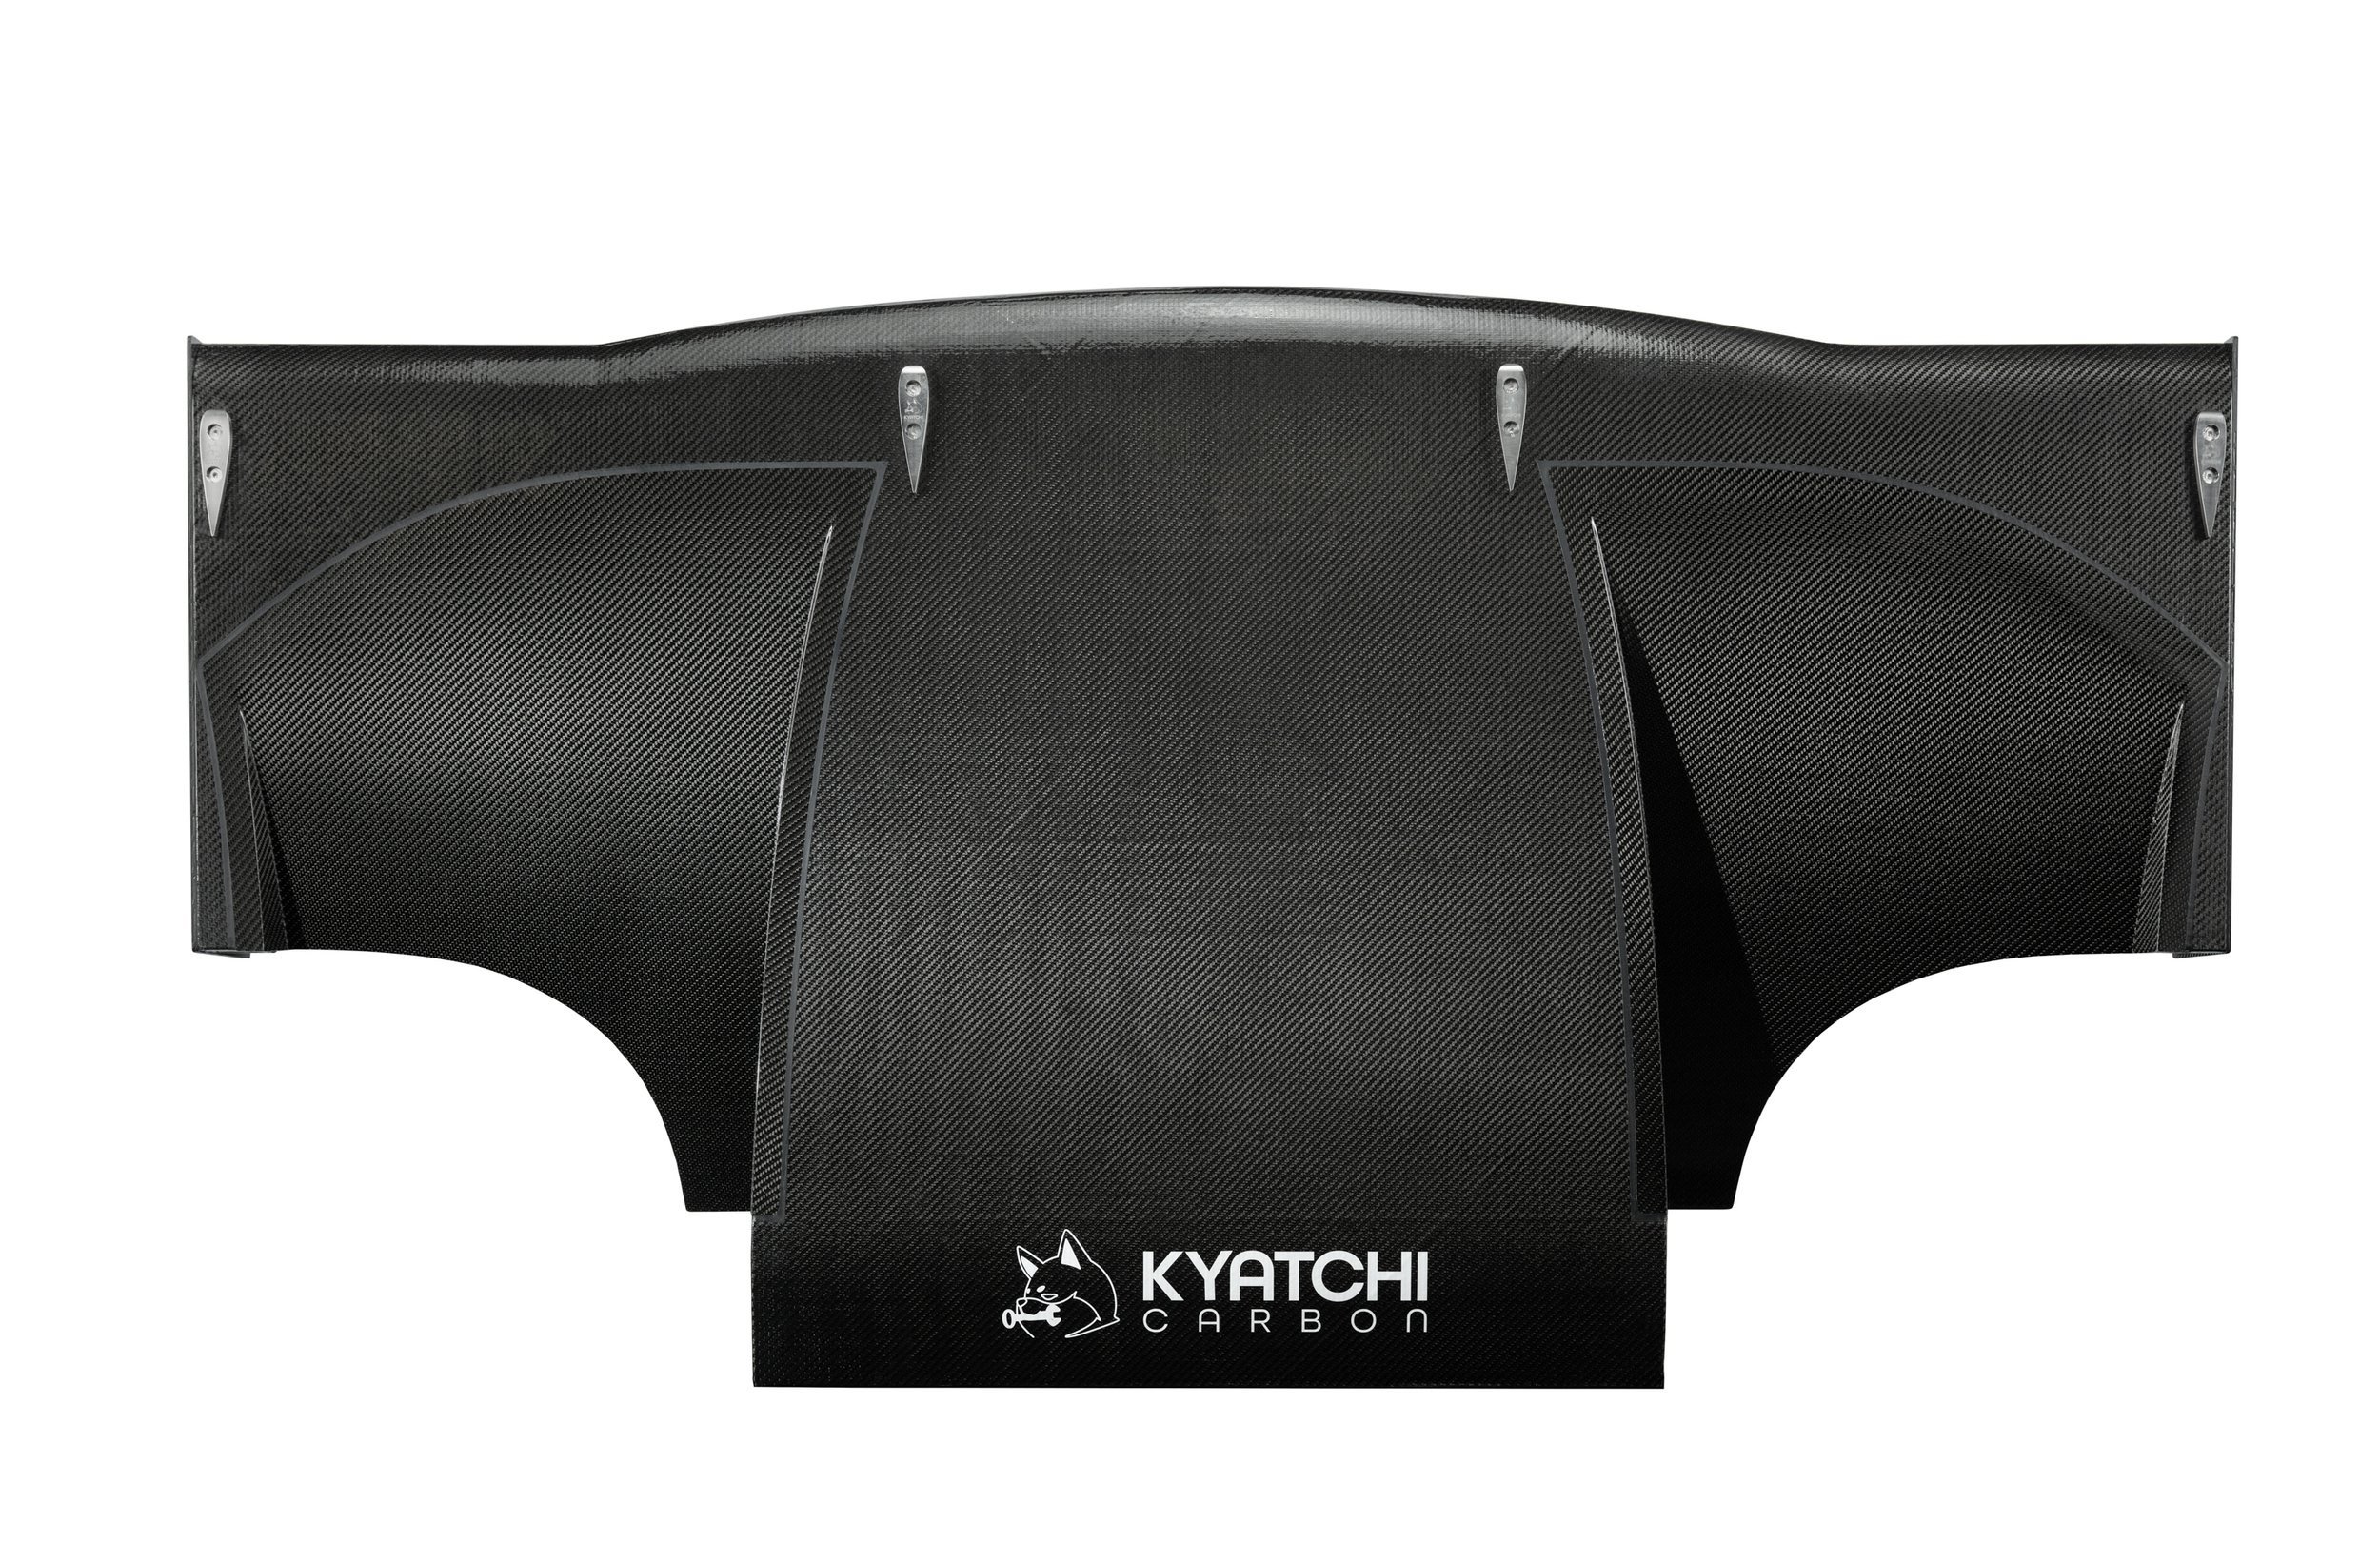
 Image 1 of 7
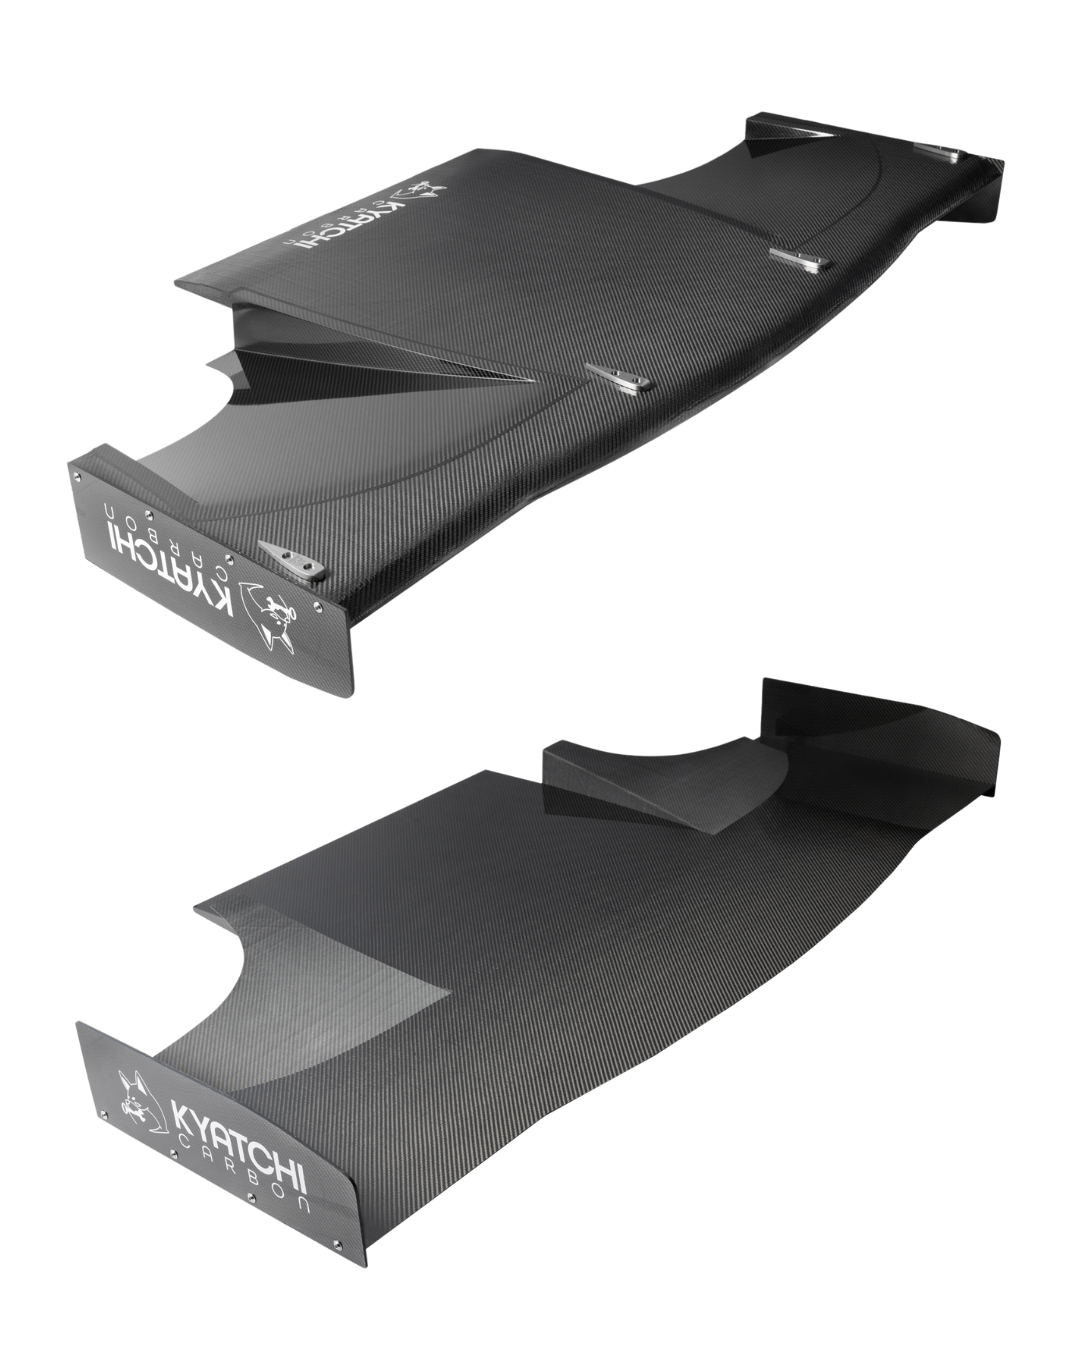 Image 2 of 7
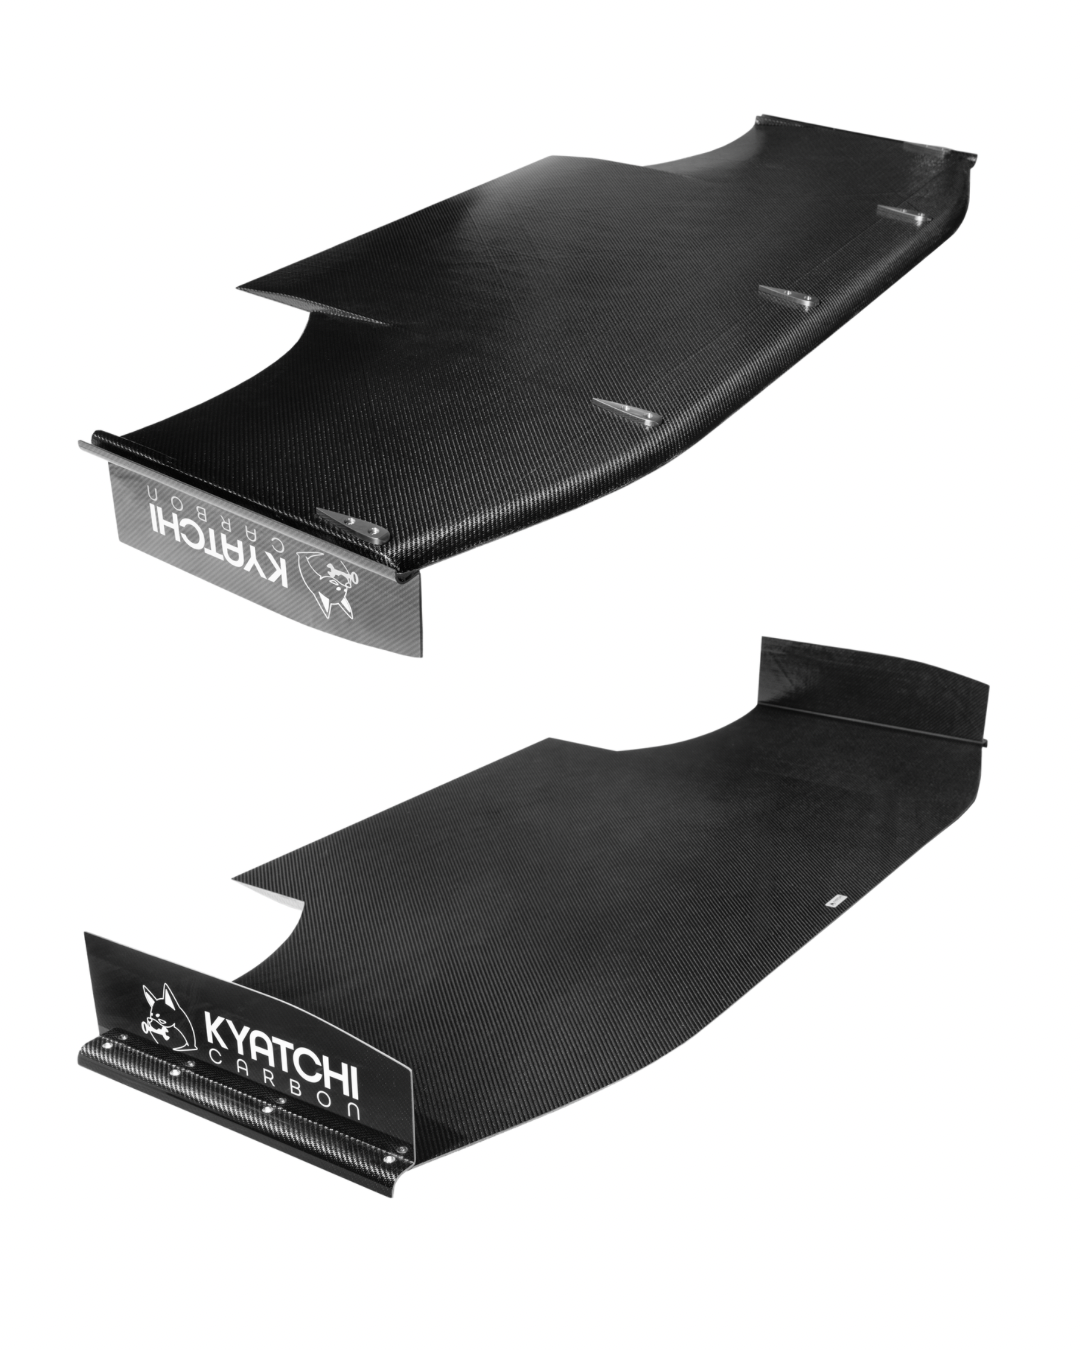 Image 3 of 7
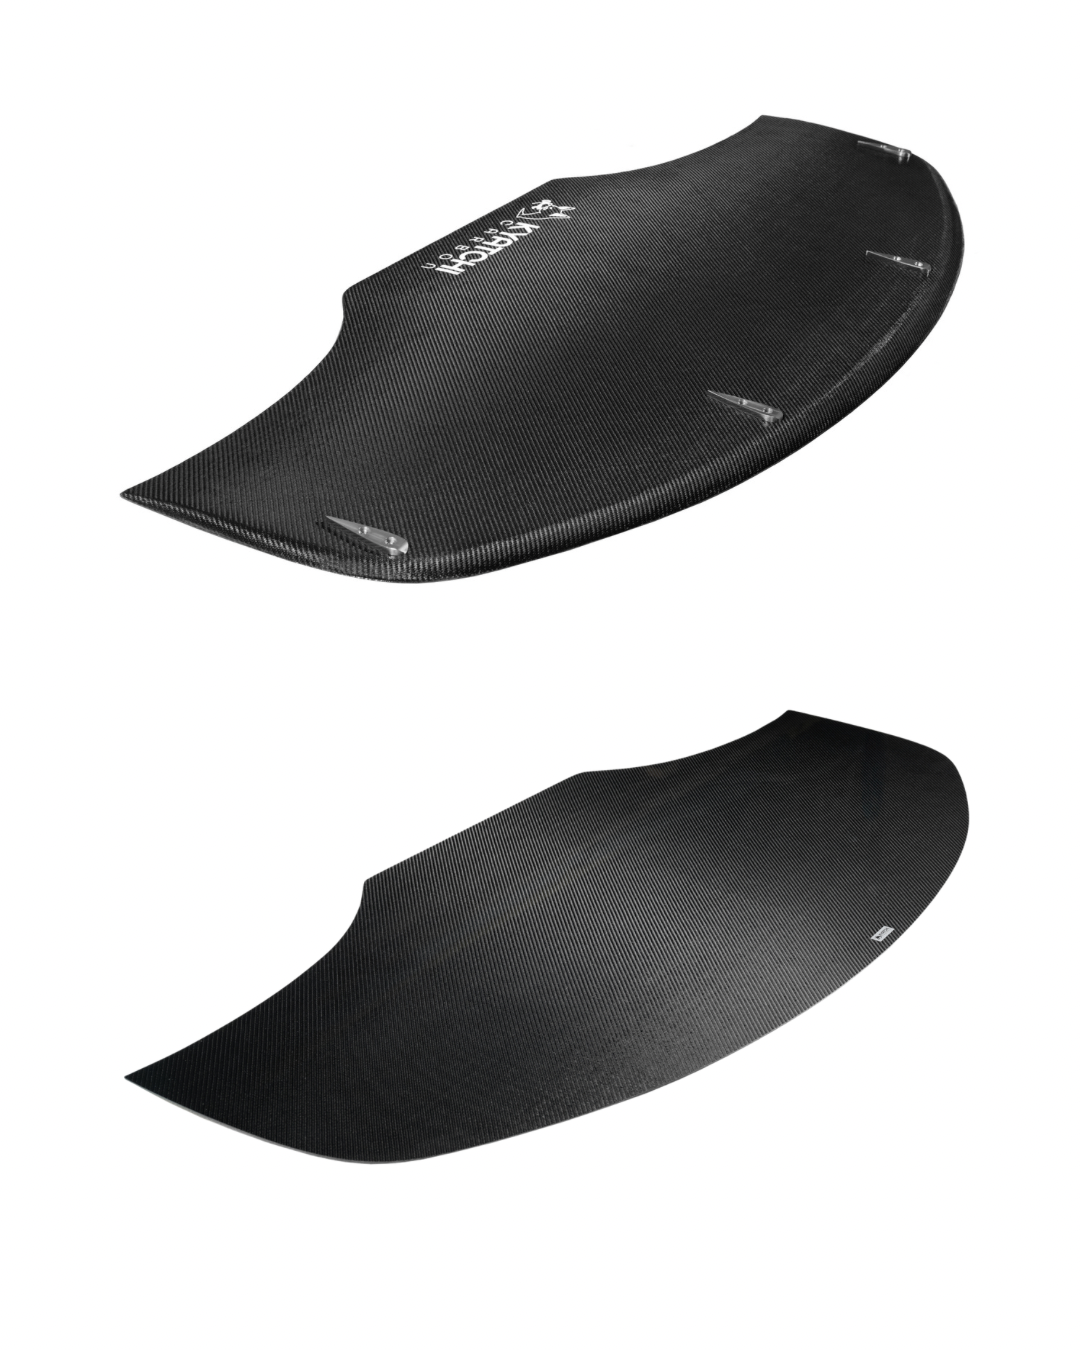 Image 4 of 7
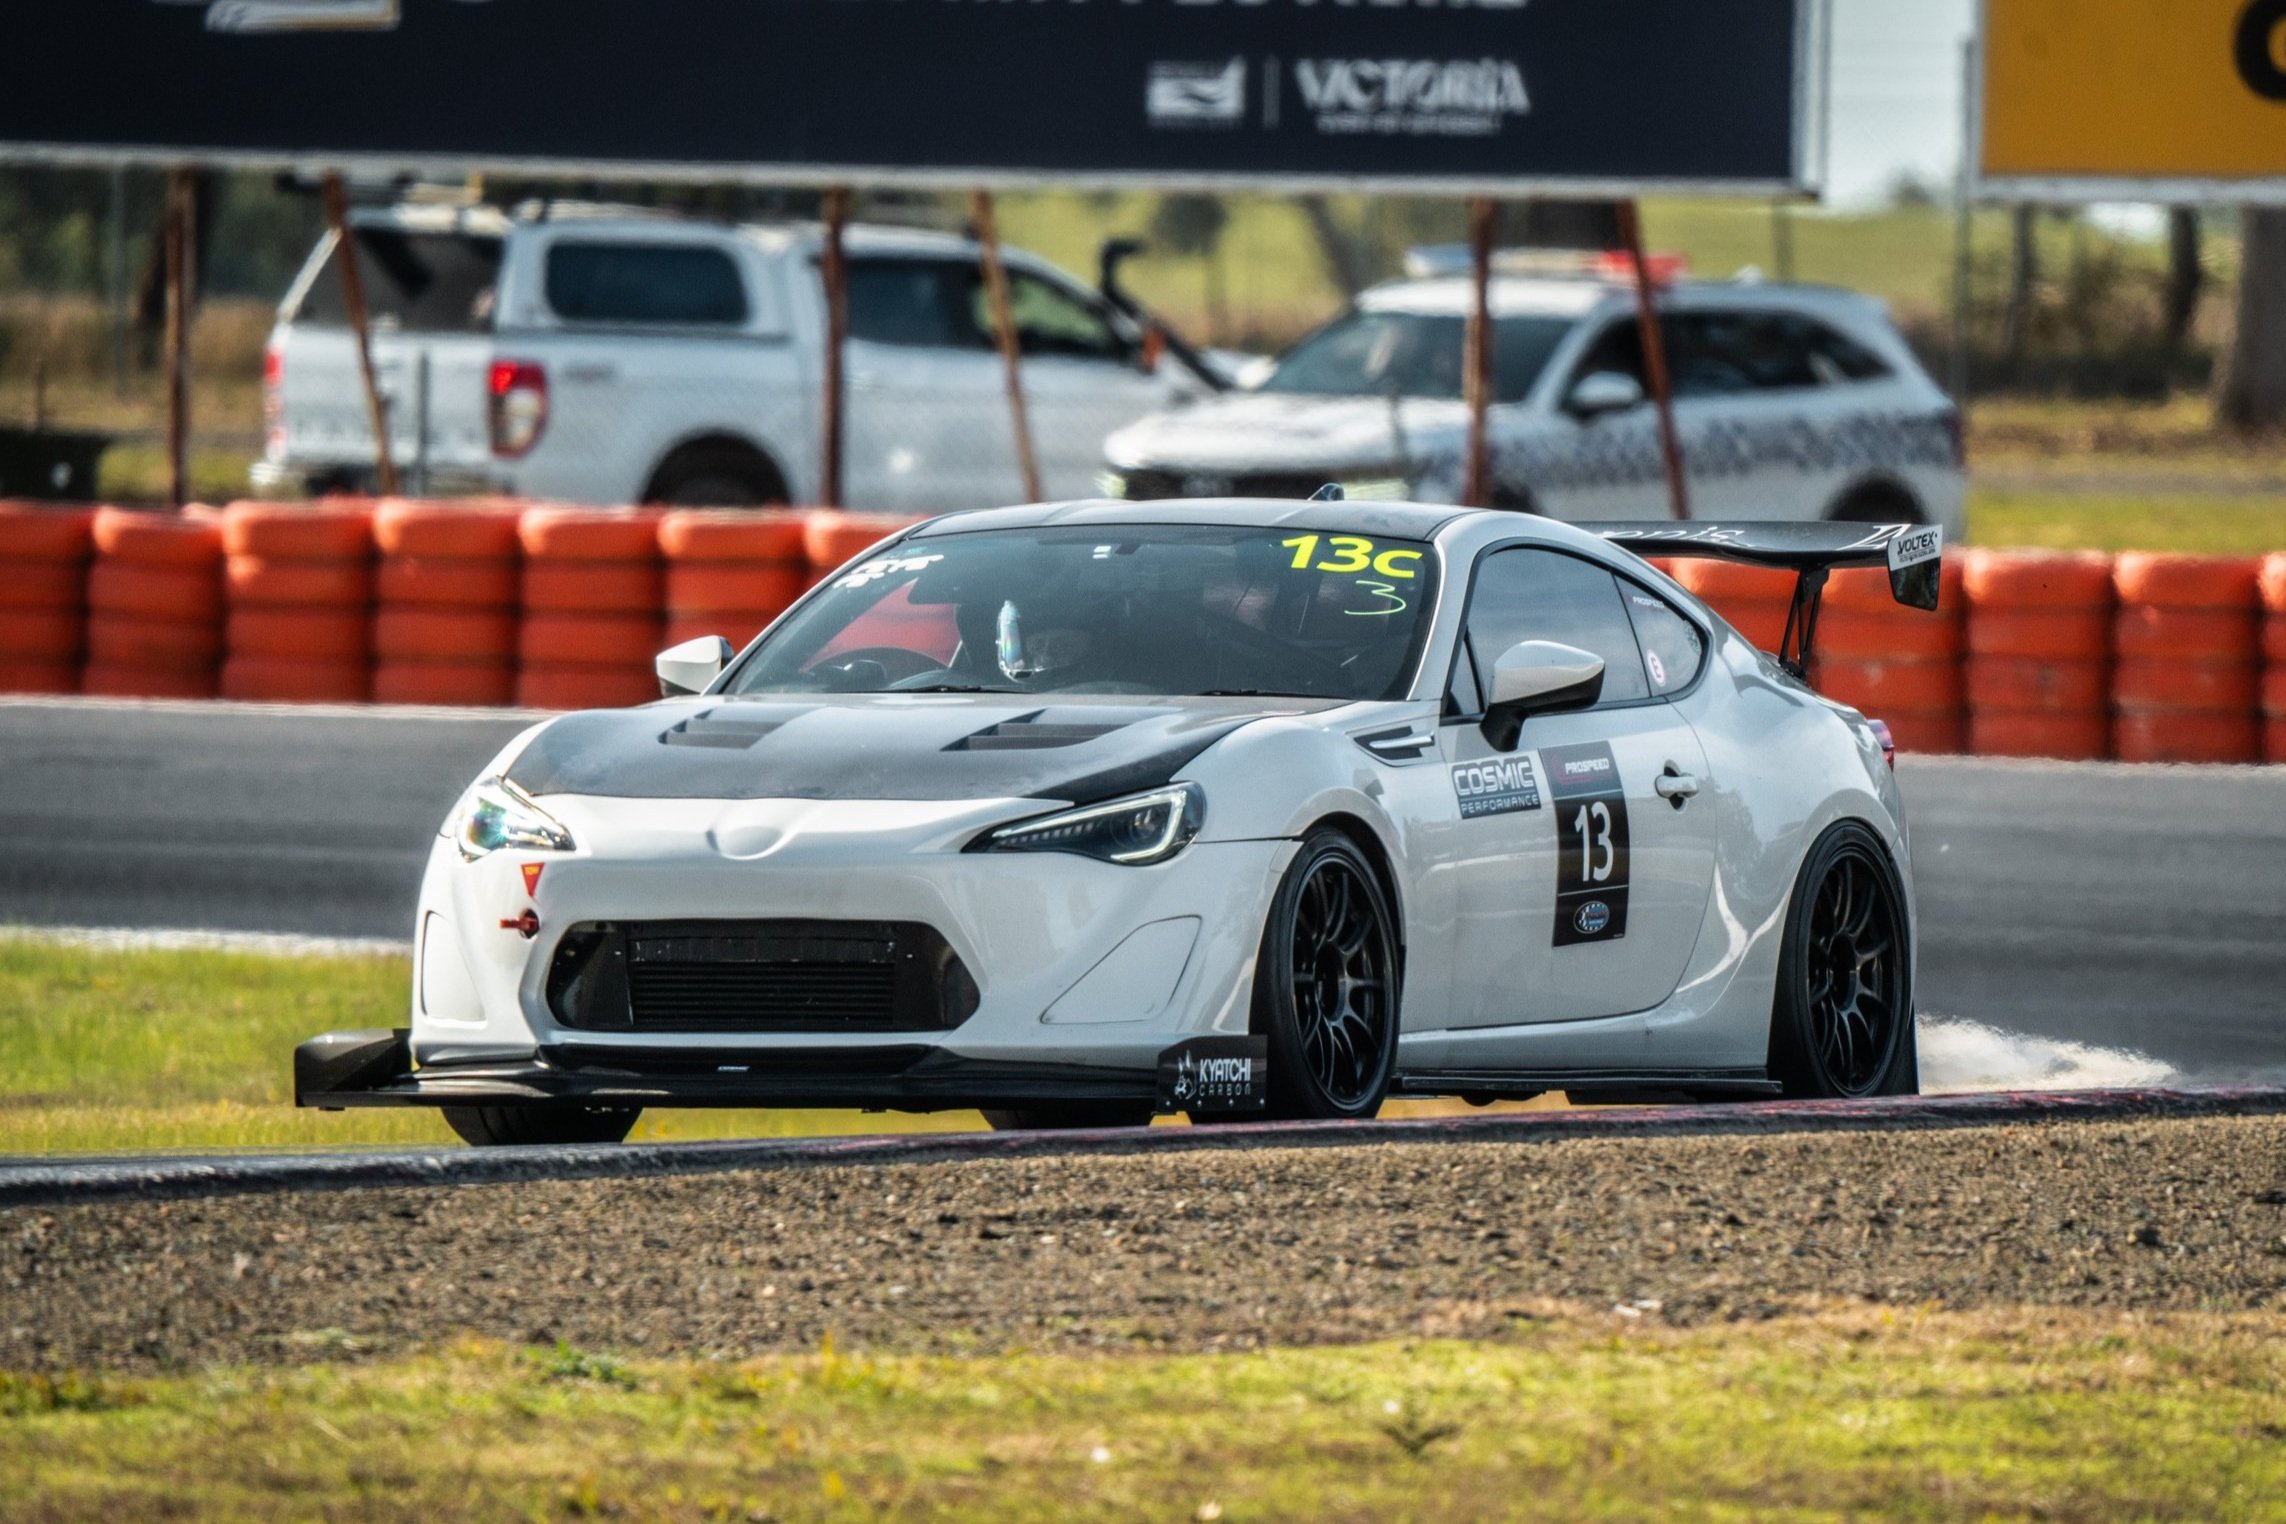 Image 5 of 7
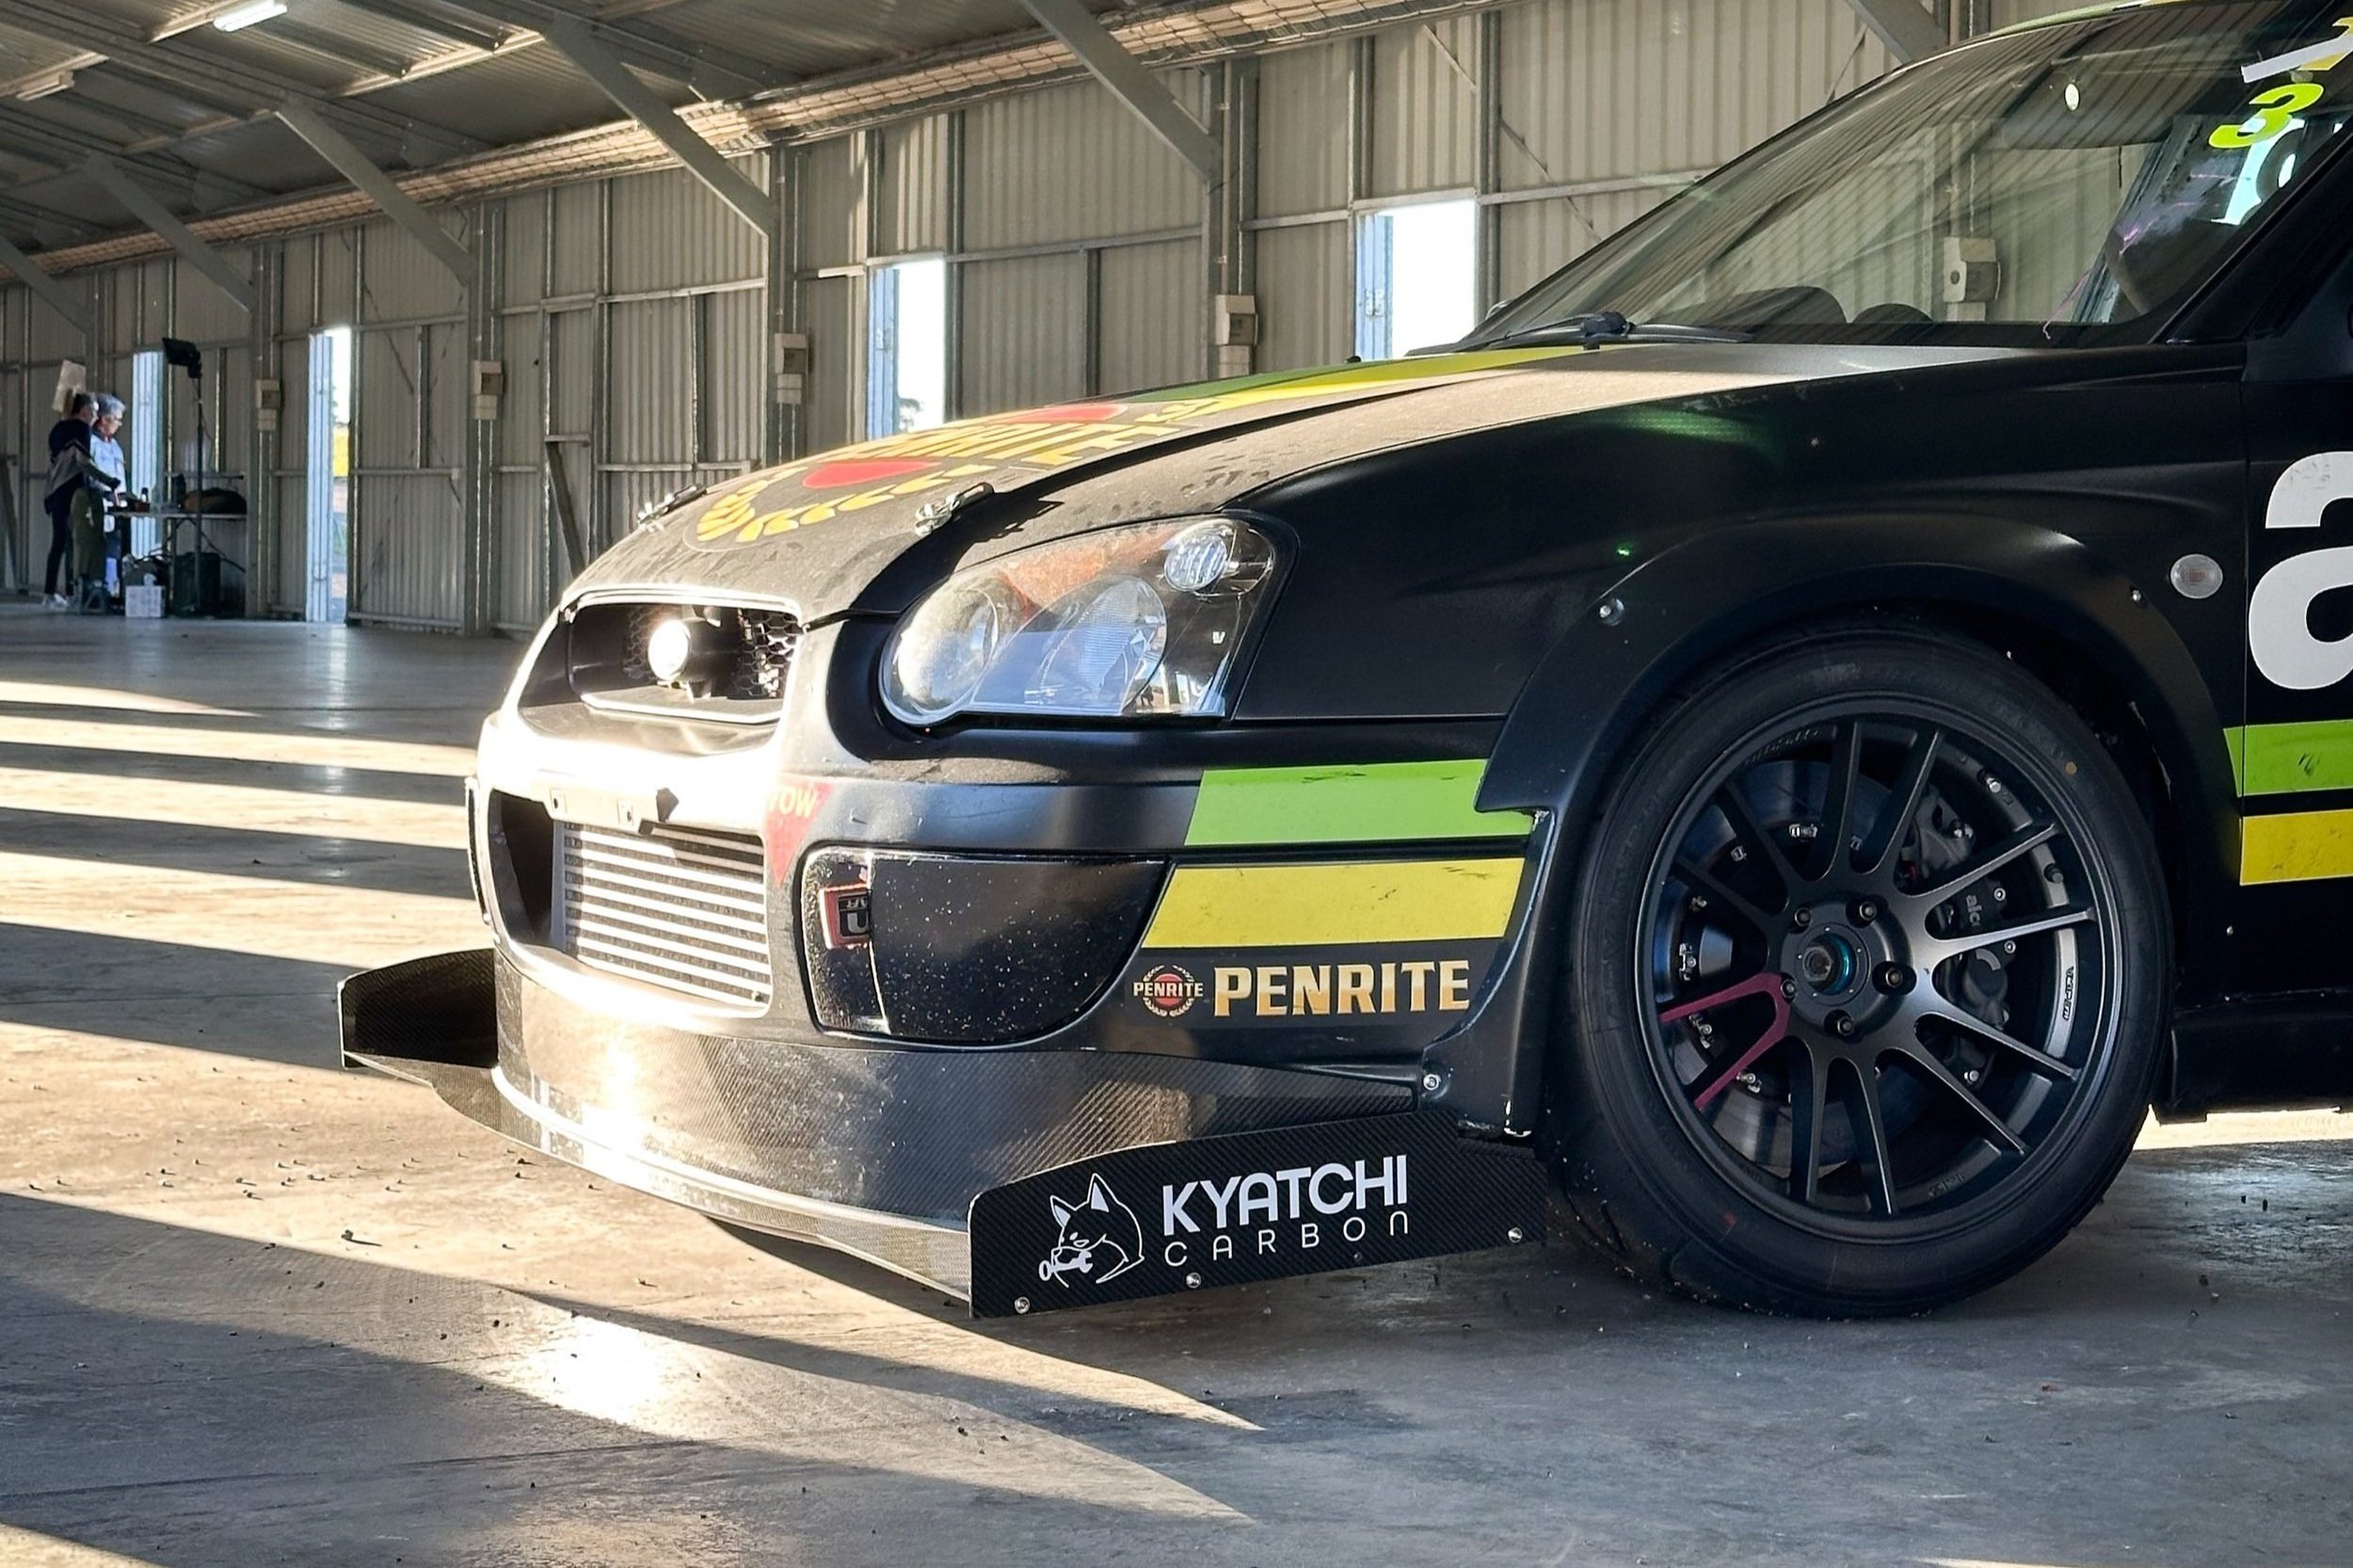 Image 6 of 7
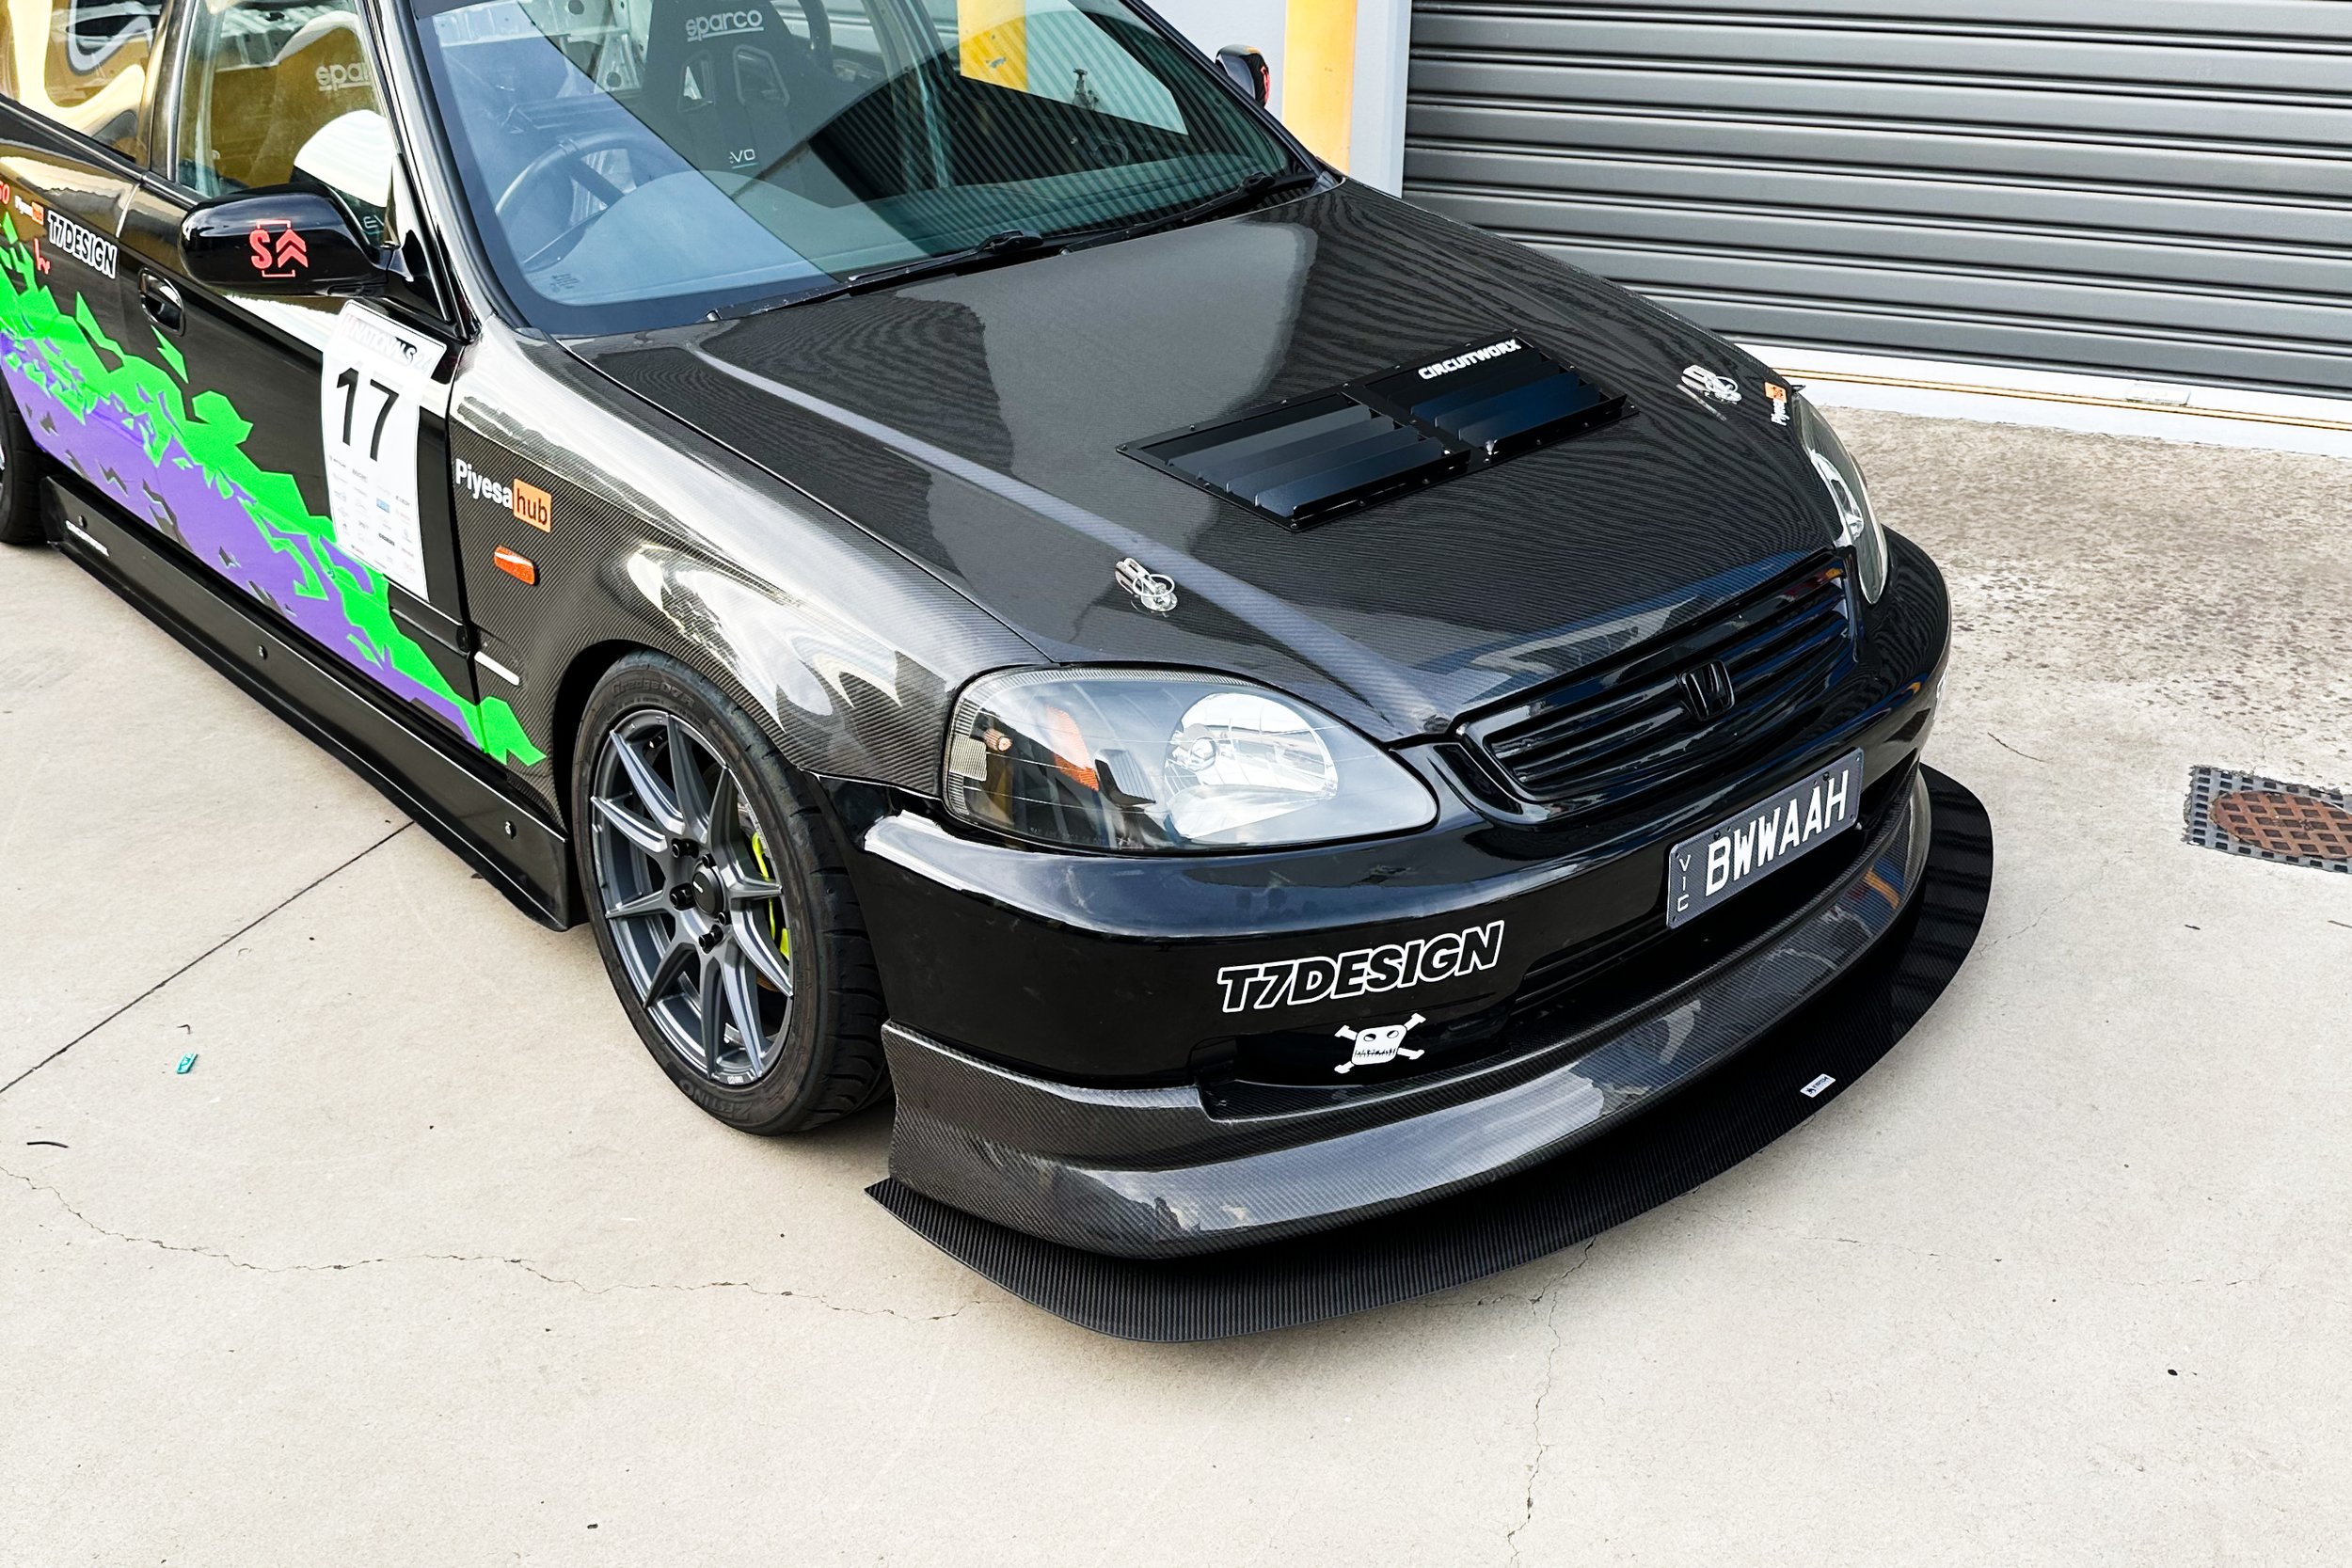 Image 7 of 7
HOW IT WORKS
Step 1: 3D Scan + Design Session (Included)
Every custom splitter starts with a 3D scan of your car. You can either drop the car off at our factory, or we’ll come to you, scan the front end, and define the splitter’s width, length, and leading edge shape and even tunnel size and spacing to maximise your class regulations. You’ll receive CAD renders to review before anything is built.
We understand that a bespoke carbon splitter is a big purchase! You can book a 3D scan and design session as a standalone service to see the plan before you commit. No strings attached. We credit the full amount toward you splitter if you decide to proceed
→ [Book Your Scan Separately]
Remote or Interstate Clients
If I can’t come out to scan your car, don’t stress. There are usually a few workarounds depending on your car, class, and how custom the splitter needs to be. We may already have a 3D scan of your car on file, or we may be able to scan the same model locally and design from that. For simpler builds, we can also walk you through the steps to make your own splitter template, then you can send it to us for production.
Reach out and we’ll work out the best path forward.
Step 2: Approve the Design
You’ll receive CAD renders to review. Nothing gets built until you’re happy.
Step 3: We Build It
The splitter foam core is CNC-cut, laid up with carbon, then vacuum infused with epoxy
- Start time: Based on your place in the queue
- Build time: Around 2–3 weeks once production begins. Production will start depending on amount of orders before you
Step 4: Install
For customers who want the splitter fitted properly from the start, we offer in house installation at our Melbourne workshop.
Our in house install is a heavy duty chassis mount setup for track use. The car is set up on a flat patch, levelled, and the splitter is positioned within its ideal operating window while taking class regulations and vehicle setup into account. We then fabricate custom mounts to suit the car and splitter.
Price for splitter install is $3850 inc GST
Customers can also arrange their own installation if preferred. The splitter can be fitted by a capable workshop, metal fabricator, or experienced DIY customer.
For simpler fitment jobs, or if another location is more convenient, we can also refer you to trusted install partners including AeroBall Customs in Braeside and Opulent Garage in Epping.
Mounting brackets and support rods are not included.
Step 5: Carbon Airdam Add On (OPTIONAL)
Add a carbon airdam shaped to your front bar or lip for $950 inc GST.
The airdam is bonded in after the splitter is installed, so it can be matched to the final splitter position and the shape of the car.
We can also install carbon airdams on site in Sydney, as long as the shop has a hoist or high jack stands. On-location airdam install in Sydney is $1320 inc GST.
Which Splitter Matches Your Car’s Setup?
| Variant | Front Load @ 250 km/h | Aero Efficiency (L/D) | Build Time* | Install Difficulty | Best With |
|---|---|---|---|---|---|
| Base Splitter | 213 kg | 8.1:1 | 1-2 weeks | Moderate | Standard rear wing |
| + Endplates | 340 kg | 11.7:1 | 1.5-2.5 weeks | Moderate | Large rear wing |
| + Endplates + Tunnels | 411 kg | 13.0:1 | 2-3 weeks | Advanced, may require trimming and more complex mounting | Dual element rear wing |
* Your build will be placed into the next available build slot once design is confirmed.
All tests were performed at 1.0° nose down rake for the base splitter and endplates, and at 0.5° rake for the configuration with tunnels and endplates.
Data reflects a splitter size between Clubsprint and Open Class. The base splitter was tested at a slightly smaller area than the endplate variants, which used a larger footprint to fit the plates. Results reflect those exact configurations and are not area normalised.